I have always used .NET and Visual Studio to deploy applications to Azure. But now, I am studying for Microsoft Exam AZ-204 which requires knowing containers. I started with a node.js application that I cloned. In this blog, I show how to build and image and deploy it to Azure.
First, I installed Docker and the Docker Desktop.
I cloned the repository https://github.com/docker/welcome-to-docker.git to my repos folder. The project already has a Docker file. If you are working with a project that does not have a Docker file, you would have to create one.
I made sure I was logged into Docker. It’s important at this point to navigate to the folder containing the project. For my work, I used Powershell 7. The first thing I did was open Powershell
To set up the development environment run
$ docker compose watch
To build the image, I ran
$ docker build This didn’t work the first time. In my Docker file, I have “FROM node:18-alpine”. I had to run
$ docker pull alpine Then the build command worked. My image came up on the Docker desktop as “getting-started”.
To run on Azure, I needed was a container registry. I used the Azure UI to create a container registry. I had to push my image to the container registry. At this point, I needed to go back to the command line. To work with Azure from the command line, I had to download and run “azure-cli-2.65.0.msi”
First I ran
$ Connect-AzAccountThen I needed to login. My username is linked to a number of subscriptions and I had to use the right one. This required
$ az login --tenant <TenantID>The tenant id for subscriptions is in the Overview of Microsoft Entra ID
Next I tagged the image in Docker desktop. Here are my images in Docker desktop.
This required running
$ docker tag getting-started [registry name].azurecr.io/getting-started getting-startedHere are my images in Docker Desktop

I logged into my registry:
az acr login –name [registry name] Finally, I ran
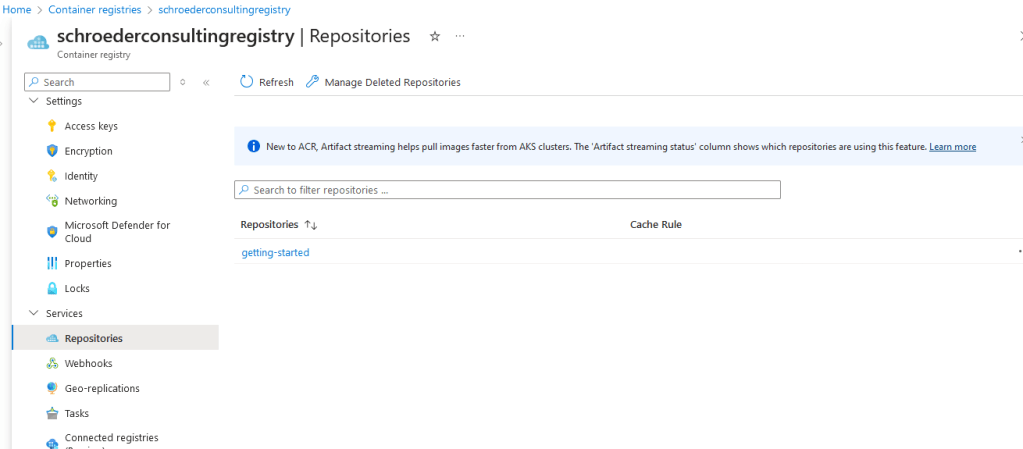
$docker push [registry name].azurecr.io/getting-started
Here is the image in my Azure container registry
To run the image on Azure, I created a new resource from the Marketplace “Web App For Containers”. Entering the information is standard. I needed a new App Service plan for Linux. I of course picked a free plan. For image, enter the image from your container registry. Here is my web app:
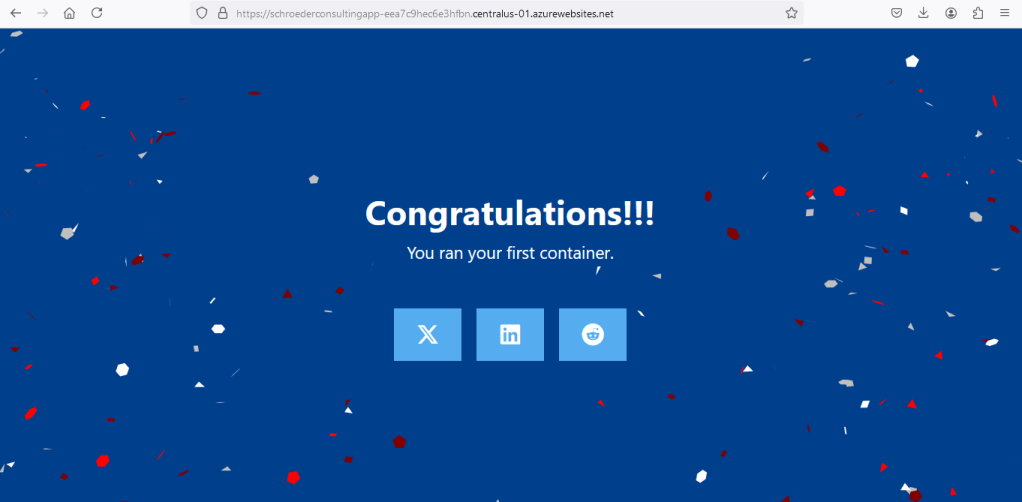
https://schroederconsultingapp-eea7c9hec6e3hfbn.centralus-01.azurewebsites.net/
In this blog, I showed how I successfully created an image of a node.js project and deployed it as a Web App on Azure.